The Basics of Beeswax - What is it? How to Use it to benefit your life!
The Basics of Beeswax
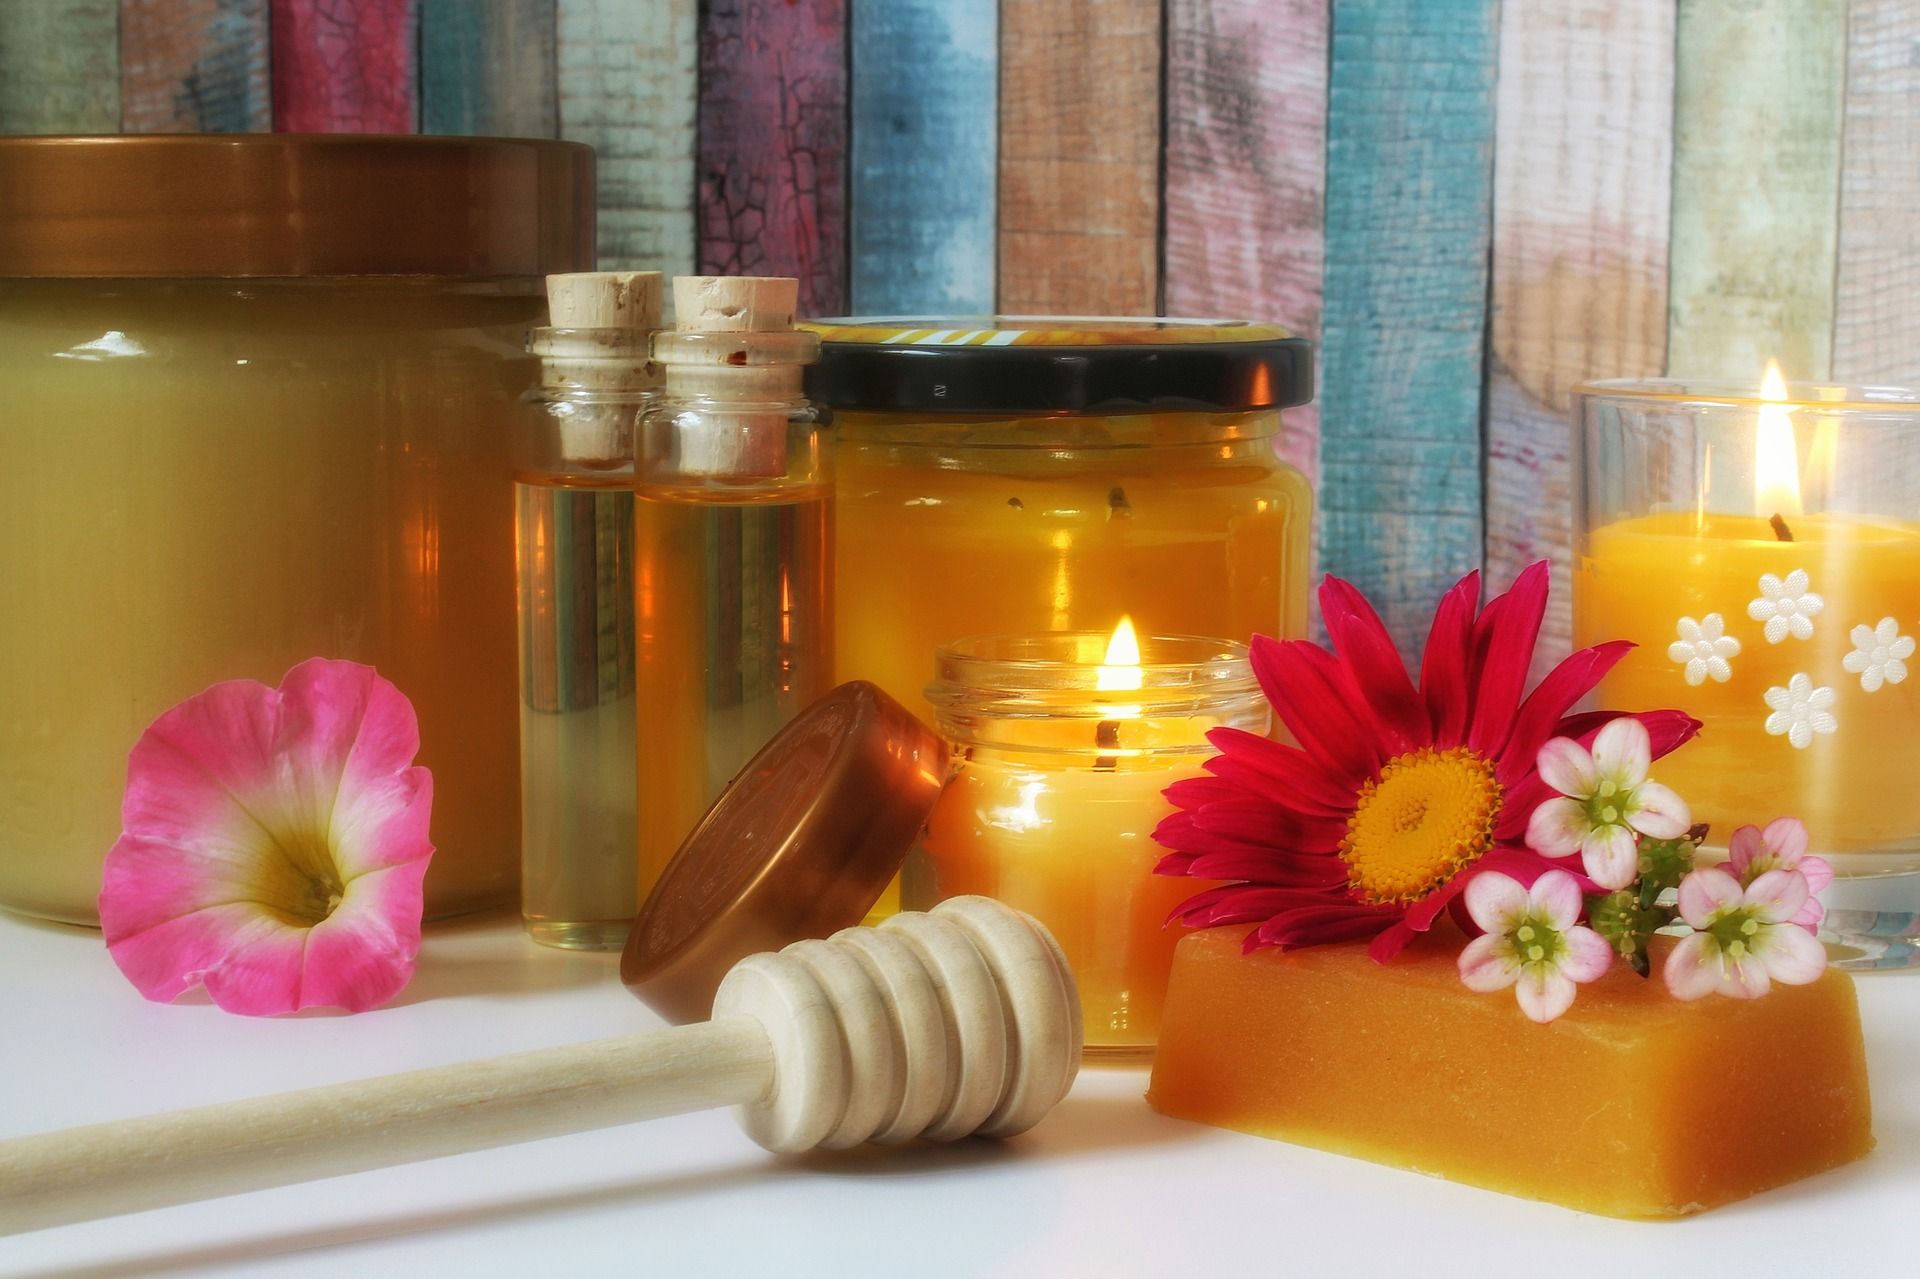
Beeswax is a substance produced by worker bees, which is secreted by glands on the bee’s abdomen. It is naturally a yellow-brownish color, but can also be purified to different shades of yellow or even white. Beeswax has been used since ancient times for its amazing benefits. Ancient Egyptians and Roman cultures used beeswax for natural skin and beauty treatments. Today, it is still used in the production of many products such as candles, lotions and cosmetic products.
Beeswax has a variety of uses such as:
- Natural Base for homemade products. Beeswax is a wonderful component to add to your life if you are a DIY enthusiast. Natural products such as candles, chapsticks, makeup and lotions can be made without the use of chemicals and toxins.
- Acne Treatment. Due to its rich vitamin A content and anti-septic properties, beeswax is an amazing natural treatment for acne. It moisturizes the skin without clogging pores and allows skin to “breathe.”
- Natural Remedies. The Korean Journal of Internal Medicine performed a 24 week study that revealed beeswax normalized liver function and improved symptoms of fatty liver in the test subjects. When mixed with honey it has also been used as a treatment for candida. Beeswax can be used to naturally lower cholesterol levels as well.
- Anti-inflammatory. Beeswax has been researched to help ease inflammation and joint pain in patients with arthritis and joint stiffness/pain. It is an added ingredient in many topical creams to ease pain and discomfort.
- Skin Care. In his book, How to Use Beeswax and Honey to Cure Skin Problems, Gene Ashburner discusses the healing skin benefits of beeswax. His book explains that beeswax contains vitamin A and is moisturizing to skin yet does not clog pores. It is also used in the treatment of skin conditions such as eczema, diaper rash, dermatitis, and psoriasis. Beeswax has been researched to help the body produce collagen which can aid in the healing of stretch marks and scars.
What is the difference between white and yellow beeswax?
White and yellow beeswax pellets differ in color based on the filtration process. White beeswax is turned white after undergoing a pressure-filtration process. Yellow beeswax is typically processed less and therefore left in its more natural state.
Which Beeswax should you use?
Choosing the right beeswax product is dependent on what you are using the beeswax for. It is important to choose a pure, 100% organic natural beeswax product that does not contain other filler ingredients. Be sure you research the quality of the beeswax you are purchasing.
- White beeswax is great for projects such as candle making because you can create lots of different colored candles with natural mica powder. Beeswax candles are naturally hypoallergenic and emit negative ions into the air, which have various health benefits.
- Yellow beeswax can still be used for candles, but will not showcase the colors in the mica powder as well as a white beeswax base will. White beeswax is typically chosen for aesthetic reasons.
Both yellow and white beeswax can be used for creating holistic products such as lip balms, lotions, soaps and as previously mentioned, candles. Again, before choosing a beeswax product be sure it is authentic and does not contain filler ingredients.
Beeswax is a wonderful component to add to your life if you are a DIY enthusiast. Below are three great recipes you can try that utilize beeswax!
DIY Beeswax Candles
Ingredients-
1 lb Beeswax
Candle Wicks
Glass Jars
1 Heat Resistant Bowl
1 Sauce Pan
Water
Essential Oil of Choice
Instructions-
Prepare your candle bases.
Clean jars and ensure they are dry and ready for use.
Place a small amount of glue on the bottom of the wick to secure it to the bottom of the jar.
Using a stick, fork or pencil, carefully tape it to the top of the jar and wrap the wick around it to ensure it stays upright.
Fill sauce pan halfway with water, heat on medium/high heat.
Add beeswax into heat resistant container.
Place heat resistant container filled with beeswax carefully into the heated water and stir slowly until completely melted.
Add 2-4 drops of the desired essential oil
Mix slowly to avoid burning yourself.
While still warm, carefully pour the beeswax mixture into the glass jar, ensuring that the wick stays upright in the middle of the container.
Let cool for 24 hours.
After 24 hours, trim the wick and enjoy your natural beeswax candle!
DIY Lip Balms
Ingredients-
5 oz Beeswax
5 oz Sweet Almond oil
5 oz Coconut oil
1 oz Shea butter
1 oz Cocoa butter
2 Teaspoons Peppermint Essential oil
Instructions-
Combine the Beeswax, cocoa butter, shea butter and sweet almond oil in a heat resistant bowl and melt together.
Stir until all ingredients are blended.
While the mixture is melting, insert all the empty tubes in the back side of the fillable lip balm tray.
When completely melted, remove from the heat resistant bowl.
Add your favorite essential oil and stir.
Safely pour the mixture into the tubes while the mixture is still warm, using the fillable tray.
Use the spatula to thoroughly fill tubes.
Let the lip balm tubes cool to room temperature.
Store in a cool, dry place away from children and pets.
DIY Lotion Bars
Ingredients-
1 cup Coconut Oil
1 cup Shea Butter
1 cup Beeswax
2-4 Drops Essential Oil of Choice
1 Saucepan
1 Heat Resistant Container
1 Silicone Mold
2 cups Water
Instructions-
Add water to saucepan and bring to a boil.
Combine beeswax, coconut oil and shea butter in the heat resistant container and place in the saucepan.
Stir until melted.
Once the ingredients are melted, stir and remove from heat.
Add 2-4 drops of desired essential oil to melted mixture.
Stir thoroughly.
Carefully pour into mold, let cool 24 hours.
After 24 hours, remove from mold and enjoy.
Mary Tylor Naturals is proud to offer a 100% organic, premium Beeswax product available in both yellow and white beeswax pellets. We stand by our motto, “Better Ingredients for a Better Life.”

